C'est la Vie is a 1966 Charlie Morgan 34.

Her home port is Everglades City, FL. Our typical cruising area is Southwest Florida, the Florida Keys, the Southeastern Atlantic Seaboard, and the Bahamas. We are C'est la Vie's third owners and purchased her in 2005. We continue to maintain and update this classic vessel. Please post any questions or comments about C'est la Vie or our travels via the comment links below.


Thursday, July 7, 2011

install one metal pole and remove another

Today we reached a milestone in our summer 2011 projects list.  Prior to today we have simply removed pieces & parts from C'est la Vie in our attempt to complete projects.  Well today I re-installed the repaired bobstay.  

Check one repair off the list! 

For better or worse moments after installing the bobstay we removed an even larger and more complex metal pole from the boat.  This is only the second time in 6 years of owning C'est la Vie that we have stepped the mast.

We plan to add a roller furling genoa and a removable inner stay for our storm and working jibs.  Doing this will require that we modify some of the hardware at the top of the mast.  Also we believe that painting the decks will be easier without having to work around the mast and stays.

Progress?

Wednesday, July 6, 2011

finished up refinishing the kayak hull

Moving the kayak inside for the application of topcoats has allowed me to consistently progress forward despite unfavorable conditions.  How does the kayak enter the house?

The image above was taken after the application of the 2nd topcoat.  The image below is the finished product.

Now it is time to go paddle.

Tuesday, July 5, 2011

inspired by progress on the lockers in the head

The initial TSP scrub and cleaning of the head lockers inspired me to expand the project on to some of the salon lockers.  So today I disassembled the cleaned the starboard lockers in the salon.
Once the rinse cycle on the hull was complete, I took all the hatchs, seat backs, and miscellaneous pieces stripped from the lockers home for sanding and painting.
I do not have enough workspace to tackle all the pieces at once so it will take a couple rounds of sanding, priming, and painting to finish up.
Being interior pieces, I've elected to save some money by going with primers and paints purchased at your standard big box hardware store.

Sunday, July 3, 2011

meanwhile back on C'est la Vie

I was able to put in a couple hours of work at the boat this morning.  My efforts went into prepping the head and vee berth lockers for painting.  I rely heavily on on Don Casey's, This Old Boat for guidance on boat projects.  Don suggests painting lockers as a method of perfecting painting techniques prior to moving on to more visible areas of the boat.  The first step in his outlines is to scrub the fiberglass surfaces with a TSP solution.  TSP (Trisodium Phosphate) is effective at removing mildew and greasy residues from hard surfaces.  Here is a series of before ==> during ==> after images from the locker the houses C'est la Vie's holding tank.

Before - The holding tank rests on the bare wooden shelf and is held in position by the grey bands.  I am going to attempt to fit in a larger tank.  New tank or not - I plan to remove the wood shelf and create a more finished and substantial mount.


During - The TSP is packaged as a granular powder that must be mixed with water.   I scrubbed the hull with the TSP solution, right bucket; then used a sponge to wipe the area down with fresh water, left bucket.  I continued to rinse with clean water until the fresh water remained clear after my wipe down. This took several cycles.  I also used the shop vac to suck up water that pooled in any areas.  Some water worked its way to the bilge.  At the end of my cleaning session I used a water hose to rinse the bilge.
After - still have some sanding to do, but the TSP did a great job of removing mildew and dirt.

Tired of waiting on Mother Nature...

I've given up on waiting for the ideal morning to move forward on applying the topcoats to the Arctic Hawk and moved the project indoors.
 The conditions are ideal, but the process is not without it's complications.  First due to the length of the kayak it must enter the house through the window seen behind me in the image above.  Also, all human inhabitants must flee the house for 4+ hours after painting is completed.  This makes for some interesting scheduling.

It is gratifying to be making forward progress and be able to predict a completion date for later this week.
Below is an image of the hull after the application of the 1st coat of Brightsides.

Friday, July 1, 2011

more time with the birds

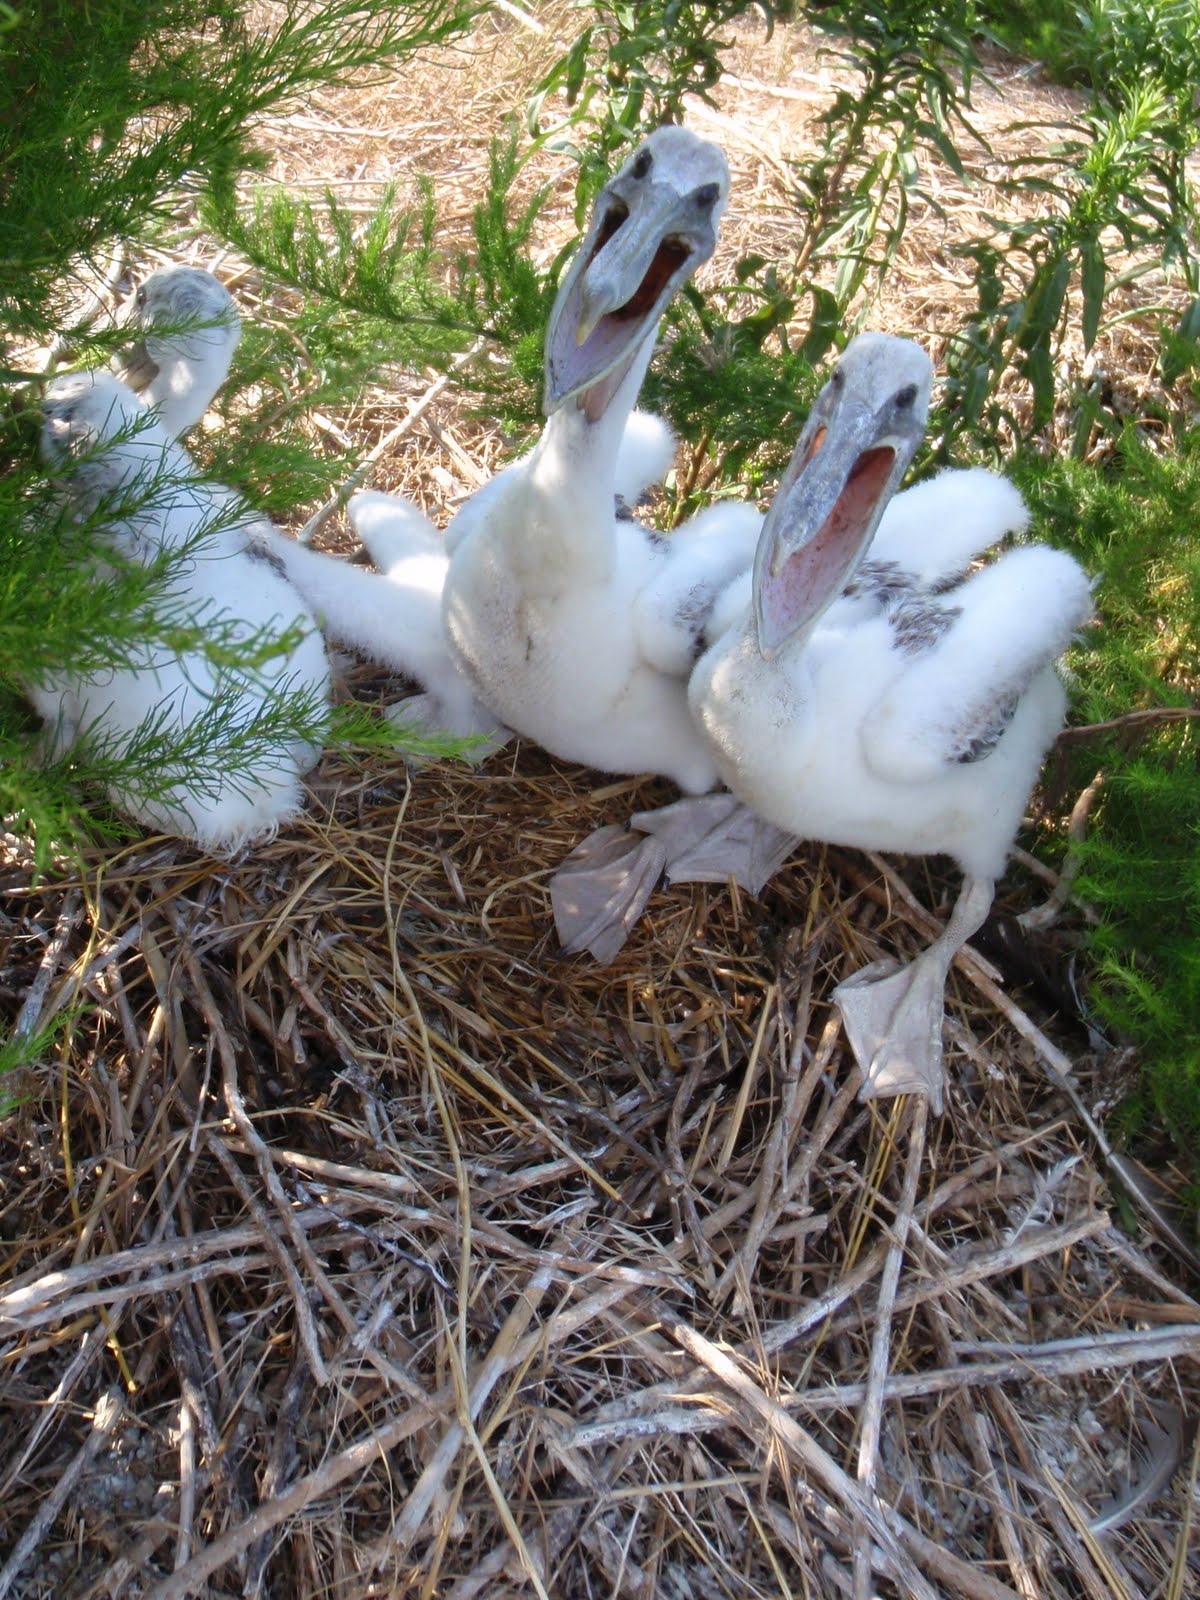
Today we banded pelicans on New Dump Island off of Atlantic, NC in Core Sound.

The concept is the same - pick up the juvenile birds before they mature into flight and place a metal band on their right leg.  Since pelicans are much larger and less agile than the terns we do not use an impoundment, but rather use groups of people to hem in groups of birds.  Once a group is surrounded we wade into the crowd and pick on the birds by the beak.

We banded approximately 250 pelicans.  Anne and our friend Becky joined the team of volunteers today.

If you would like to see additional images from either day of banding here is a link to my picasa web album - Banding Birds in the OBX 2011.

Thursday, June 30, 2011

today's time for boat projects went to the birds


I spent the day today banding Royal and Sandwich Terns at the north end of Core Sound on Wainwright Island. We have participated in this project in the past and are always eager for the opportunity.

Aluminum bands are attached to the juvenile birds before they are able to fly.  The process involves setting up an impoundment pen and herding in the young birds into the pen.

Next, groups of less and 200 birds are then herded into a smaller  pen where the species are separated.  Once identified the appropriate band is attached to the birds right leg.
Today 12 volunteers banded 3000 Royal Terns and 400 Sandwich Terns.  Each band has a unique number.  If you ever find a dead or injured bird with a band on it's leg, then please record the number and report it via www.reportband.gov

More images from the day are available via my picasa web album - banding birds in the OBX 2011. Tomorrow we will be banding pelicans!

Monday, June 27, 2011

juggling boat projects

How many boat projects is too many?

At dawn I, applied the final coat of primer to the starboard side of the kayak hull.  Then Bud and I headed out the the boat yard to remove the windlass.  On the way back from the boat yard we stopped in the machine shop to check on the bobstay repairs. The repair is moving along and should be complete by the end of the week.

Once back and the house, Bud and I began to disassemble the windlass.  The removing the aluminum cover plate on the bottom of the windlass exposed a foul mass of fatigued grease that ranged in color from eft red to toffee tan to aged banana brown.  Salt water corrosion  had breached the plate in a couple spots so Bud volunteered to take the 1/8" aluminum cover home to Mooresville and fabricate a new one.

Lunch time internet research yielded exploded diagrams of the windlass assembly and an supplier in England that sells spare parts for the windlass.  Hopefully no replacement parts will be required.  A couple of the bolts refused to part ways with the windlass body.  Rather that force any fasteners I am attempting to encourage the bolts with afternoon applications of vinegar and an overnight soak in penetrating oil... remember replacement parts must be shipped from England don't want to force anything.

Reaching an impasse with the windlass, I turned my attention back the the head plumbing.  I did not have the time to remove all the valves and fittings from the hoses or the holding tank on Saturday.  So I brought the old hoses, fittings, and tank home to deal with them at a later date. 24 hours of curing in the backyard and the need to deal with cleaning the salvageable parts of our toilet plumbing would no longer be ignored.

A couple hours of removing hoses and scrubbing crevasses yielded the assortment of plumbing hardware pictured above.  The majority of the fittings removed from the plumbing are serviceable.  All the old hose is retired.

As  mid-afternoon thunderstorms begin to rumble, I return my attention to the kayak hull.  Baked in the coastal sun throughout the day, the morning's coat of primer now beckoned.  A session with some 220 grit sandpaper and the hull is ready for tomorrow's application of primer.  

So tomorrow's projects will start at dawn with the application of the final coat of primer on the port side of the kayak hull.