C'est la Vie is a 1966 Charlie Morgan 34.

Her home port is Everglades City, FL. Our typical cruising area is Southwest Florida, the Florida Keys, the Southeastern Atlantic Seaboard, and the Bahamas. We are C'est la Vie's third owners and purchased her in 2005. We continue to maintain and update this classic vessel. Please post any questions or comments about C'est la Vie or our travels via the comment links below.


Monday, April 8, 2013

Filling Holes in the Cabin Top (a.k.a. dig a hole then fill it up.)

Today was devoted to filling holes in the cabin top.  Most were small holes used for fastening the dodger, the turtle, and the handrails to the cabin.  


never realized the cabin roof had so many holes.
I drilled the partial depth holes out to 1/4" diameter.  Holes for fasteners that may receive great stress loads (i.e. dodger frame, turtle, and handrails) I expanded to 1/2" and drilled through to the interior of the boat. This will allow us to through bolt and install backing plates on critical hardware. 


the interior view . ready for epoxy
All this drilling made a horrible mess of both the interior and the topsides of C'est la Vie.  The shop vac and I teamed up to clear away fiberglass and wood core.  Next I sealed the interior holes with tape.  Using a syringe and thicken epoxy I filled all the holes.  After painting the topsides we will come back and redrill the holes for the hardware. Drilling through the over sized epoxy plug will prevent water from ever reaching the wooden core of the cabin top.

The other hole in the cabin top took a bit more effort to fill.


The broken and leaking hatch in the head must go.
C'est la Vie's small head hatch was added by her second owner.  The additional light and ventilation are beneficial.  A few years ago the hatch began to leak around the frame.  Last summer, while loading the dinghy on deck we broke the hinge on the hatch.  Now we have opted to replace the hatch with a Nicro 2000 Solar powered vent fan.

Fortunately the screws retreated easily from the deck and frame.  Unfortunately the hatch was bedded with 5200 and refused to let go.

the proper tools for removing 5200.
The 5200 succumb to a heat gun, a scraper, and a hammer.  I then sanded down the area to remove the remaining 5200 and created another giant mess inside the boat... shop vac to the rescue.

Using clear plastic sheeting I created a template for the outside dimensions (OD) and the inside dimensions (ID) of the opening.


creating templates for material to fill and cover the opening.
I plan to use sea teak for the exterior material. So the OD dimensions were transferred to the material. 


 the fan will rest upon sea teak on the topsides
Fortunately I have some scrap teak to use for the deck plug and interior material.   Fitting the teak plug took a few trips between the hole and the sander, but patience paid off in a snug fit.  


the teak plug will be visible from below decks.
When flush with the interior cabin ceiling the 3/4" thick teak plug did not fill the entire depth of the deck.  One layer of  3/8" Plascore brought the plug nearly flush with the deck.  I filled the remaining voids with thicken epoxy.


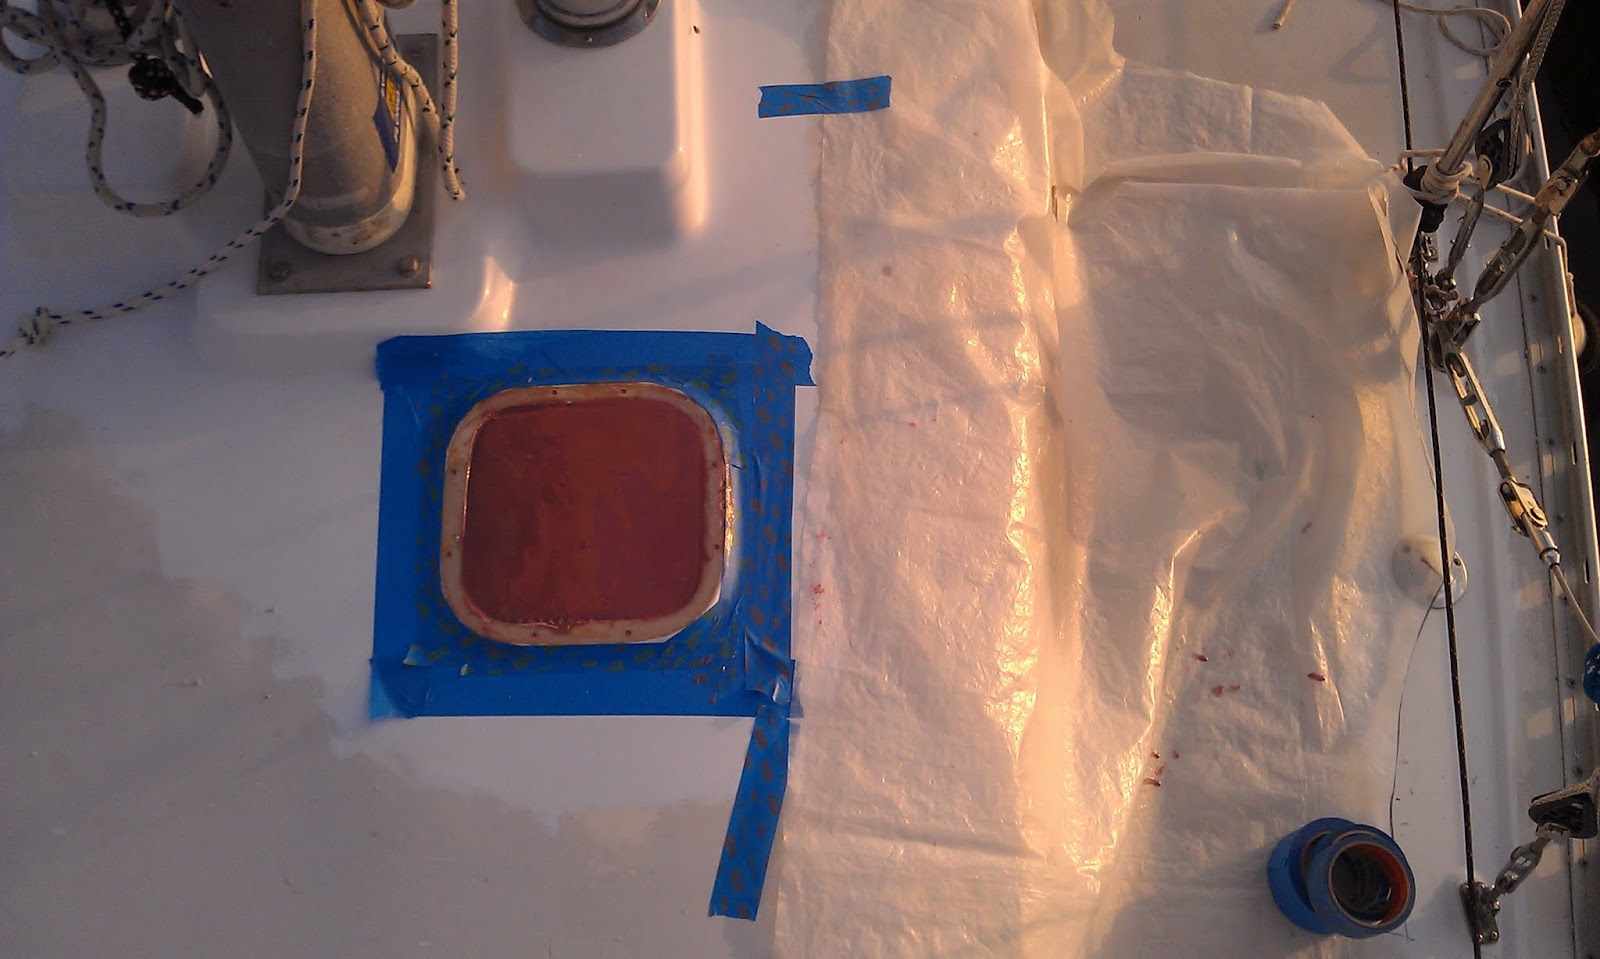
Now we await for the epoxy to cure.  Addition photos of this project are available in the photo album titled -  Solar Vent Fan Install - Spring 2013.

No comments:

Post a Comment