C'est la Vie is a 1966 Charlie Morgan 34.

Her home port is Everglades City, FL. Our typical cruising area is Southwest Florida, the Florida Keys, the Southeastern Atlantic Seaboard, and the Bahamas. We are C'est la Vie's third owners and purchased her in 2005. We continue to maintain and update this classic vessel. Please post any questions or comments about C'est la Vie or our travels via the comment links below.


Friday, April 26, 2013

Refinsihing the Cabin Sole with Lonseal

When does a project actually begin?  

I maintain a project list in the form a a spreadsheet.  The projects are assigned a 1 through 5 priority, with 1 being the most urgent need.  Refinishing the cabin sole rose a number one priority after enduring rough crossing from Wilmington, NC to Green Turtle, Abacos in which the varnished sole became wet and resembled a ice skating rink (see Happiest Thanksgivings To All.)  Did the project begin when it rose to the top of the list?

Last spring on our drive north to drop our car in Beaufort, we stopped by Seafarer Marine to pick up Lonseal Flooring and adhesive.  I felt sure that during hurricane season while hauled out in Beaufort I would get the new sole installed, but then the engine haul out consumed my fall. (see Success C'est la Vie's Engine Is Out.)  Did the project begin when we purchased the materials?

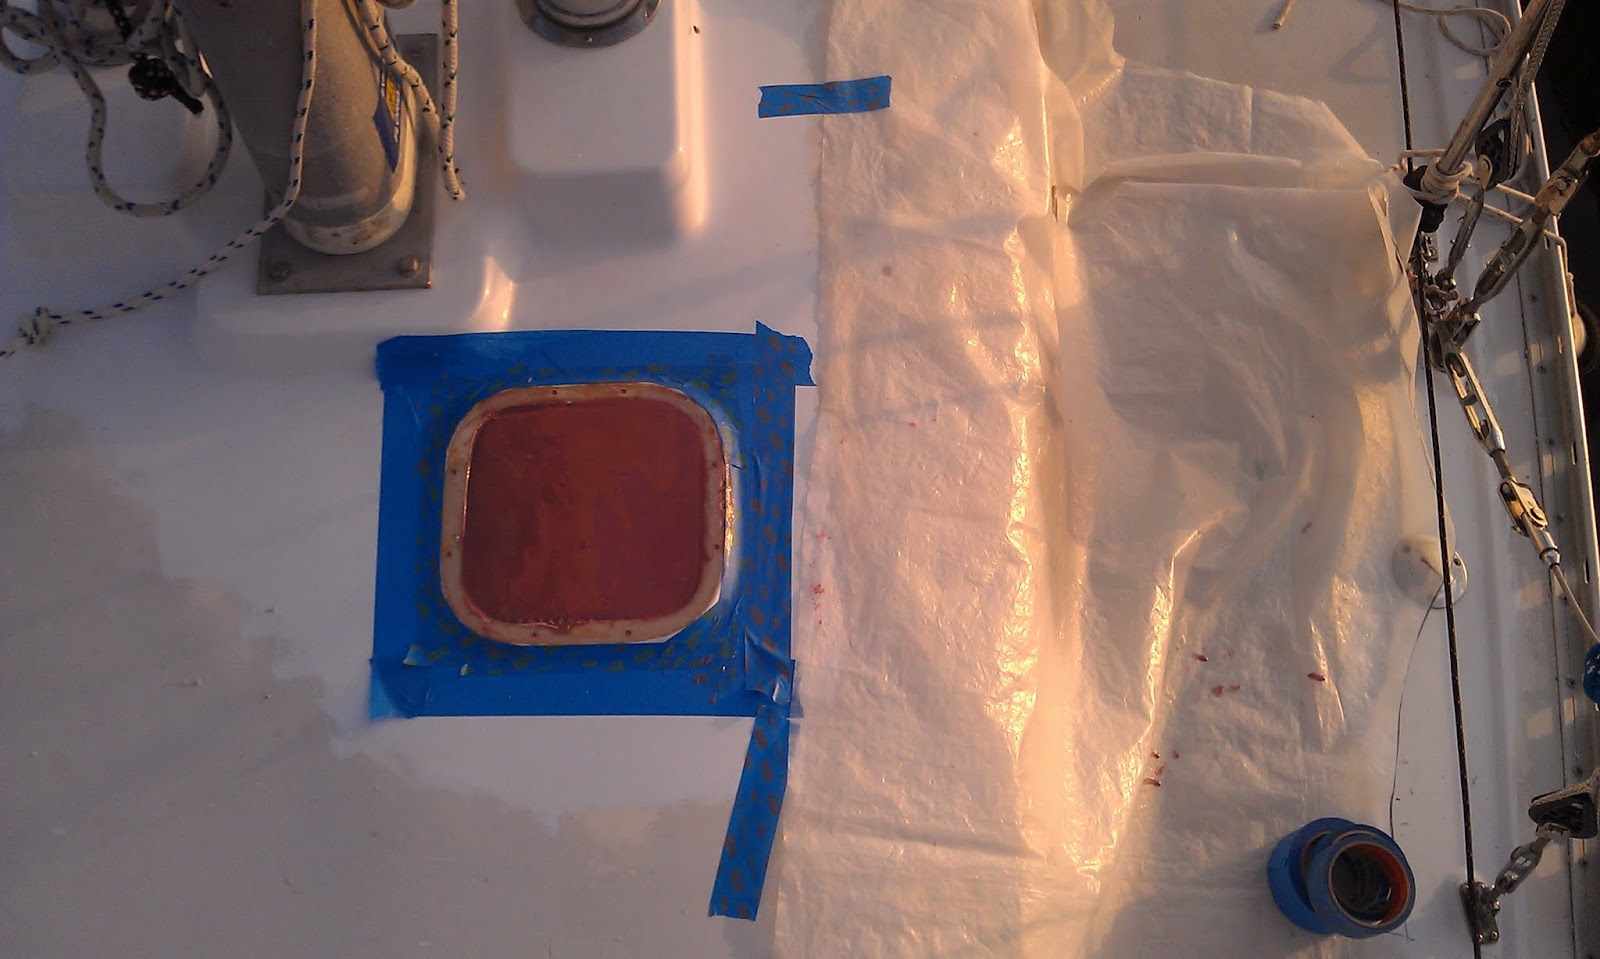
In February of this year I announced to the world on this blog that the cabin sole refinishing project was underway (see Refinishing C'est la Vie's Cabin Sole.).  I pulled the flooring out of storage, removed the tiny quarter round trim, and ripped up some of the old veneer.  In the process I realized the interior brightwork had lost its luster.  Recognizing the mess that sanding all the interior wood would create, I put the sole project on hold.  Did the project begin when I shared it with the world?

I can now stand before you all, two and a half years after the project rose to a top priority, one year after purchasing the materials, and over one month after a false start and confirm that the cabin sole project is underway.

The Lonseal Flooring is a textured, flexible, mat approximately 1/8" thick.

Lonseal Flooring laid out atop a 4'x8' work bench
Seafarer sold it by the linear foot off a 6 foot wide roll.  We purchased 8 feet (48 square feet) and a gallon of the 2 part Lonseal adhesive #300. 

Initially I planned to create cardboard templates of the cabin sole, but some of the complex joints proved difficult to capture in cardboard.  Based on past successes with plastic sheeting as templates when sewing, I switched materials. 

using plastic sheeting  to trace out cabin sole sections
The plastic proved ideal for capturing the shape of the floor sections, but less effective than cardboard to test fitting all the pieces. No problem... I transferred the plastic patterns to the cardboard.


The cardboard provided stiff templates that I could piece together for test fitting on C'est la Vie's sole.

test fitting cardboard templates in C'est la Vie
Once satisfied with the fit, I removed the center panels from the boat and together with the cardboard reconstructed a portion of C'est la Vie's cabin sole  atop the Loseal.


Laying it out in this manner allowed me to ensure the holly strips would line up well along the length of the galley and salon.  The material proved relatively easy to cut with a razor knife and straight edge. 

using a razor knife an straight edge to cut the Lonseal Flooring

The curves were cut free hand.   Some of the shapes. like the one below that fits around the galley sinks, proved quite whimsical.


I chose to begin the glueing with three of C'est la Vie's removable floor panels.  This allowed me to work with the unfamiliar two part Lonseal adhesive #300 in a more ergonomic environment than the hull of the boat.   

gluing the new flooring down (pssst:  don't tell Anne I used her rolling pin.)
Albeit sticky and slimy at the same time the glue proved easy with which to work.  It must be troweled on, but has a long open working time.  The total dry time is 72 hours.  Checking the work this morning 14 hours after application, I am pleased with the results.  

To Be Continued....


Sunday, April 21, 2013

Busy Week on C'est la Vie and Sunset Island

Last week was a blur of activity all of which is drawing us closer to casting off and cruising for a couple years. 

We are in the process of moving out/off of Sunset Island, our residence for the last 8 winters and for all practical purposes our home base.  My parents drove down from North Carolina to assist with the transition and to shuttle some of our belongings northward (Thank you!).  

C'est la Vie also drew much of our attention last week.  Every morning began with a couple hours of sanding on the cabin truck.  The week started with 80 grit paper on fairing filler and ended with 400 grit paper on Interlux Brightsides.
  
One coat of Interlux PreKote on the cabin trunk.  The unpainted areas on top will be covered with Kiwi-Grip non-skid.
Completing sanding in the morning allowed us to apply primer / paint midday when our tarps cast the entire cabin in shadow. 

The companionway slider and turtle with two coats of Brightside Paint.  The center of the turtle is primed for Kiwi-Grip.
We removed  turtle & companionway slider, and worked on them inside.  These pieces were one day ahead of the boat (i.e. primer, paint, and non-skid went one on day before the boat.)  This allowed us to become more familiar with the products prior to moving onto C'est la Vie. 


Neither of us had previously worked with Kiwi Grip so the ability to practice on smaller areas prior to tackling the top of the cabin was particularly helpful.

Anne spreading Kiwi Grip on the cabin top.  I would soon follow with a textured roller.
The Kiwi Grip proved to be a pleasure with which to work.  It goes on in one coat, is forgiving, dries quickly, and cleans up with warm water.  Compared to the process of painting with the Interlux or Awlgrip Products - multiple coats, lots of sanding, proprietary chemicals to thin / clean, and long overcoat times  the Kiwi Grip is a dream.  I know we are comparing apples to oranges, but  Anne and I jokingly discussed simply painting everything above the toe rail with Kiwi Grip.  Now what remains to be seen is the durability of the Kiwi Grip.

Painting completed on the cabin trunk.  Next up are the decks.
Nearly two weeks ago, 13 days, we began this project by stripping hardware off the deck.  The handrails, turtle, dodger, etc. still need to be re-installed, but it is wonderful to be able to step back this morning and feel a sense of accomplishment.

C'est la Vie shows off her new topsides paint and solar vent fan.
More images and details about this project are available in our photo album: Painting Cabin Trunk - Spring 2013

Our efforts during the week were not limited to painting or packing.  During the drying times we installed the new solar powered vent fan in the head, continued work re-finishing the cabin sole, and installed the PV charge controller in the electrical panel.   I will likely pen additional posts about these installations, but images and details are now available in photo albums...

Solar Vent Fan Install - Spring 2013
Refinishing the Cabin Sole - Winter 2013
Solar Power Install - Spring 2013

Back to work...


Tuesday, April 16, 2013

Installation versus Extraction

Despite the fact that we are now a day behind where I dreamed we would be on the painting project, it feels like we have turned the metaphorical corner.  We are no longer extracting objects from the boat - the gallows, the turtle, the companionway cover, paint, gel-coat, etc.  Yesterday we began re-installing objects on the boat...

Anne added the final coat of paint to the area under the turtle (to save some time & expense we used house paint on this unseen portion of the decks.)

Quite the painting pants...  An homage to the recently deceased Lily Pulitzer.
We are into our second round of adding fairing filler to the cabin trunk.  Fairing the cabin trunk has proven more time consuming than I anticipated.

The red circles identify areas requiring an application of fairing filler.
We applied the initial coat of primer to the turtle and the companion way cover.


Perhaps the day's greatest signal of progress was the installation of the refinished boom gallows crosspiece.

The gallows refinished with 3 coats of epoxy and 8 coats of Bristol Finish
With the  boom resting on the gallows we can drop the topping lift and Dutchman furling system.  This will allow us to more easily set up shade tarps over cabin trunk when painting.

The return of the gallows will also allow us to begin work on fabricating a new piece of fiberglass re-enforced paneling (FRP) for the bimini.  Once the bimini returns then we can begin the installation of the new solar panels.

progress, progress, progress...

Saturday, April 13, 2013

Rain Delay #1

Anticipating showers and thunder storms, I got an early start on sanding the deck.  Dawn revealed an ominous sky.

Morning clouds over Sunset Island
In about two and a half hours of sanding I completed half the cabin trunk.  Then the sky opened up.

A good rinse after two and half hours of sanding.
What I accomplished looks good, but we definitely have another round of fairing in our future.  Most of the additional fairing is at the junction of the cabin trunk and the deck.    

Now I'm headed back to the shop to sand down the gallows cross piece in preparation for a final coat of Bristol Finish.


Friday, April 12, 2013

Juggling Projects and Watching the Weather

The stable weather of the last week has eroded over the past 48 hours.  While we have only had one thunderstorm roll through the outlook has slowed our progress on repainting the deck.  

Anne cleaning tools after adding fairing filler to the cabin top.
 We did complete adding fairing filler to areas on the cabin trunk this afternoon.  Weather permitting tomorrow we will unleash the sanders.  We hope to have the area ready for primer by Monday.

The gallows cross piece now 3 coats of epoxy & 6 coats of Bristol Finish applied.
I continue to build up the finish on the boom gallows cross piece and other bits of bright work.  I'm going for 3 coats of epoxy and 8 coats of bristol finish on the cross piece.  At my current pace it should be ready to re-install on Sunday.  

Six coats of finish and a shiny hinge doth a rejuvenated  table make.
I also completed refinishing our table and installed a new hinge.  

Progress, Progress, Progress...

Thursday, April 11, 2013

A Very Filling Day

Anne taping off areas to be filled.  I followed behind with thicken epoxy. 
Yesterday we teamed up to filled the areas ground out on the cabin trunk.  In the morning we applied epoxy thicken to the consistency of mayo to fill.  The day was warm, windy, and sunny so the epoxy cured quickly.  Late in the  afternoon I returned and used an orbital sander with 80 grit paper to fair out the epoxy.

C'est la Vie in leopard print/
What did I do with ilde hands at midday?   Brightwork of course....


Tuesday, April 9, 2013

More holes to fill in the cabin trunk

The application of a second coat of epoxy to the gallows wooden crosspiece began the day.

Two coats of epoxy on the gallows.
My plan is to build up three coats of West Systems Epoxy to seal the wood and then add 6 to 8 coats of Bristol Finish for the UV Protection.

Anne joined me for an afternoon of finding and grinding out small voids in the cabin trunk.  These voids, primarily found in the fiberglass layer below the gelcoat, date back to the original construction and are caused by a failure to completely fill the mold with epoxy.  Fast forward 47 years and these voids, the largest the size of a small pea, are causing the ordinal blue gelcoat layer and the paint applied in 1997 to crack. 

Anne uses an awl to identify in mark voids.  I used the grinder to open them up.
Today we expose the voids.  Tomorrow, weather permitting, we will fill the voids with thicken epoxy.


The number of voids we discovered was surprising, but better to fix them now than be forced to go in after our new paint has dried.  Fortunately the vast majority of the voids are on areas to which we plan to apply Kiwi Grip Non-Skid. This will make the task of fairing the area much easier.

More images from this project can be found in - Painting Cabin Trunk - Spring 2013

Hope the weather holds...

Monday, April 8, 2013

Filling Holes in the Cabin Top (a.k.a. dig a hole then fill it up.)

Today was devoted to filling holes in the cabin top.  Most were small holes used for fastening the dodger, the turtle, and the handrails to the cabin.  


never realized the cabin roof had so many holes.
I drilled the partial depth holes out to 1/4" diameter.  Holes for fasteners that may receive great stress loads (i.e. dodger frame, turtle, and handrails) I expanded to 1/2" and drilled through to the interior of the boat. This will allow us to through bolt and install backing plates on critical hardware. 


the interior view . ready for epoxy
All this drilling made a horrible mess of both the interior and the topsides of C'est la Vie.  The shop vac and I teamed up to clear away fiberglass and wood core.  Next I sealed the interior holes with tape.  Using a syringe and thicken epoxy I filled all the holes.  After painting the topsides we will come back and redrill the holes for the hardware. Drilling through the over sized epoxy plug will prevent water from ever reaching the wooden core of the cabin top.

The other hole in the cabin top took a bit more effort to fill.


The broken and leaking hatch in the head must go.
C'est la Vie's small head hatch was added by her second owner.  The additional light and ventilation are beneficial.  A few years ago the hatch began to leak around the frame.  Last summer, while loading the dinghy on deck we broke the hinge on the hatch.  Now we have opted to replace the hatch with a Nicro 2000 Solar powered vent fan.

Fortunately the screws retreated easily from the deck and frame.  Unfortunately the hatch was bedded with 5200 and refused to let go.

the proper tools for removing 5200.
The 5200 succumb to a heat gun, a scraper, and a hammer.  I then sanded down the area to remove the remaining 5200 and created another giant mess inside the boat... shop vac to the rescue.

Using clear plastic sheeting I created a template for the outside dimensions (OD) and the inside dimensions (ID) of the opening.


creating templates for material to fill and cover the opening.
I plan to use sea teak for the exterior material. So the OD dimensions were transferred to the material. 


 the fan will rest upon sea teak on the topsides
Fortunately I have some scrap teak to use for the deck plug and interior material.   Fitting the teak plug took a few trips between the hole and the sander, but patience paid off in a snug fit.  


the teak plug will be visible from below decks.
When flush with the interior cabin ceiling the 3/4" thick teak plug did not fill the entire depth of the deck.  One layer of  3/8" Plascore brought the plug nearly flush with the deck.  I filled the remaining voids with thicken epoxy.


Now we await for the epoxy to cure.  Addition photos of this project are available in the photo album titled -  Solar Vent Fan Install - Spring 2013.